What happens on the day a swing gate goes in, hour by hour
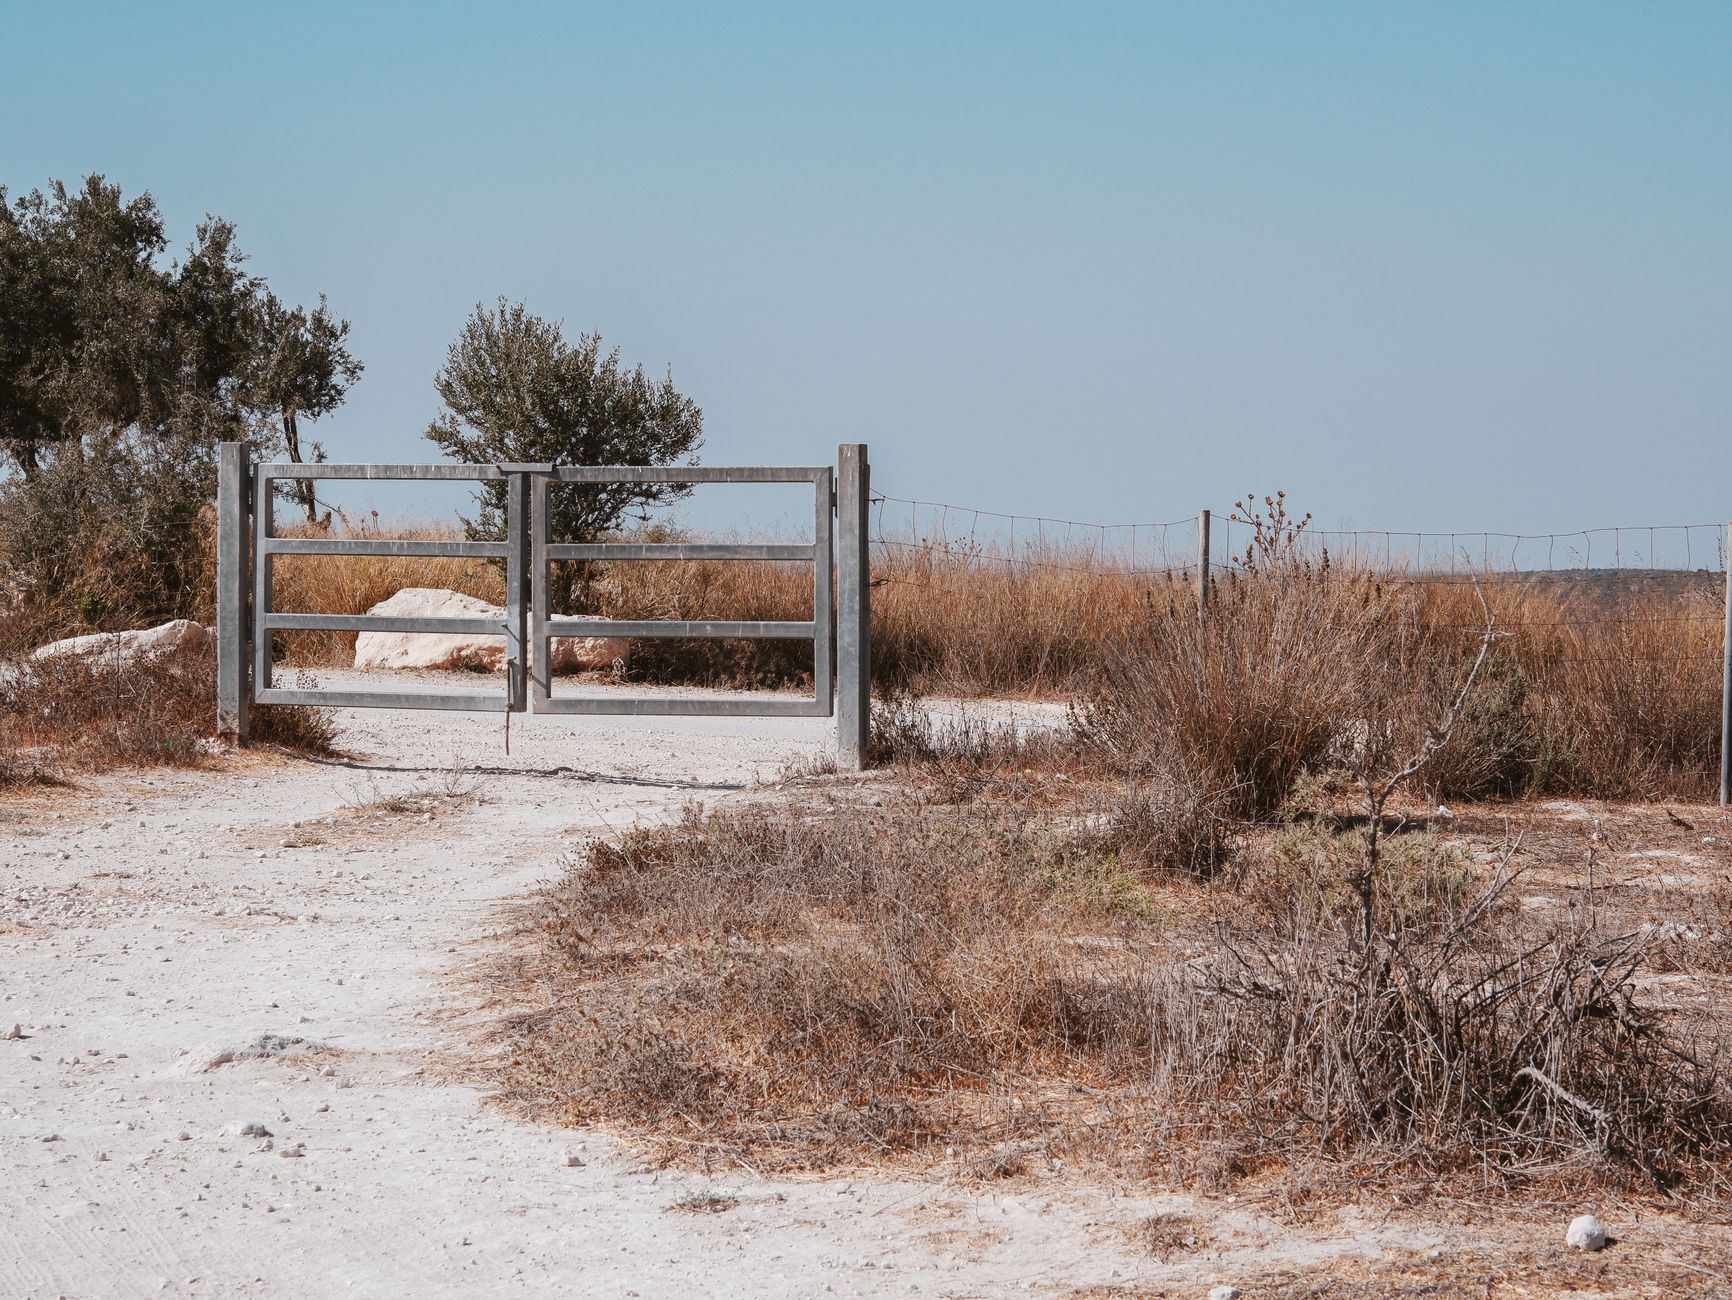
A gate installation looks like one job from the street, but the crew treats it as six small jobs that have to happen in order. Skip one, or do them out of sequence, and the gate shows it within a season. In Austin, TX the order matters even more than elsewhere, because the ground changes from limestone to expansive clay across a few miles and the weather can undo a morning of work in an hour.
What is the order of work on installation day?
The sequence is layout, digging, setting posts, curing, hanging and adjusting. Each stage has a check that must pass before the next one begins. The table below lays it out the way a crew would talk through it on the tailgate.
| Stage | What happens | What gets checked |
|---|---|---|
| Layout | Stakes and string mark the hinge post, latch post and the arc of the leaf | Opening width, slope of the drive, distance to the fence line |
| Digging | Post holes are dug by auger, bar or rotary hammer depending on the ground | Diameter, depth, firm walls, no standing water |
| Setting posts | Posts go into the holes, braced plumb on two faces | Level on both faces, gap at top and bottom, string line |
| Pouring | Concrete fills the hole and is crowned at the top | Slope away from the steel, no voids, post still plumb |
| Curing | Braces stay on while the footing hardens | Hardness at the edge, no movement |
| Hanging | Hinges and latch go on, the leaf is shimmed to ground clearance | Swing, latch alignment, self-closing tension |
Notice that curing sits in the middle. That is the stage most homeowners expect to be skipped, and the one that causes the most trouble when it is.
Why does layout take longer than digging?
The first hour is mostly standing around with a tape and a ball of string. The crew drives a stake where the hinge post will go and another where the latch post will go, then pulls a line between them and looks at it against the fence, the drive and the house. On an older lot in Hyde Park or Clarksville, the existing fence rarely runs straight. A run that has been patched for decades wanders by an inch or two over every section, and the new gate has to look correct against that wandering line, not against a perfect one.
The opening is measured as the clear width the leaf needs, then widened for the hardware. A hinge adds a little on one side and the latch assembly adds a little on the other. A single swing leaf on a narrow walk is simple. A dual swing pair across a wide drive needs a center stop and a drop rod location worked out now, because moving either later means moving a post.
The slope gets read at the same time. A drive that falls toward the street in Travis Heights or Tarrytown changes how the leaf can open. A gate that swings outward on a falling drive clears the ground easily. A gate that swings inward onto a rising drive will scrape unless the hinges are set high or the gate swings the other way. Settling this with stakes costs nothing. Settling it after the posts are poured costs a day.
How does the ground decide the digging method?
The Balcones Fault runs through Travis County and splits the city into two kinds of dirt. West of the fault the Texas Hill Country starts, and limestone sits near the surface around Mount Bonnell and the slopes above the Colorado River. East of it, in Mueller and Bouldin Creek, the soil is black clay that swells and shrinks with the weather.
In clay, a gas auger is the usual tool, followed by a hand digger to square up the bottom and cut a slight bell shape if the footing calls for one. In limestone, the auger stalls, so the crew switches to a rock bar and a rotary hammer, chipping a round hole a ring at a time. Both methods end at the same place: a clean hole with firm walls and nothing loose at the bottom.
Water gets checked at this stage too. Near Lady Bird Lake, Zilker Park and Barton Springs Pool, the ground can hold moisture long after the rain stops. A hole with standing water gets bailed and the soft clay on its walls gets cut back to firm ground before anything is poured.
What does setting the posts involve?
A post goes into the hole and gets held with wood braces staked at an angle on two sides. Then comes the level. It is held against one face, adjusted, held against the adjacent face, adjusted again, and the first face is rechecked because moving one often disturbs the other. Square steel tubing is easy to read this way. A round post needs a plumb bob or a straightedge with a level taped to it.
Two posts then get compared to each other. The gap measured at the top and at the bottom should match within a small fraction of an inch. If the top is wider, the posts lean apart and the frame will hang loose. If the top is narrower, they lean together and pinch the leaf. The string line stays tied between the posts for the whole pour, so any drift shows up as a change in the line.
A hinge post carries more of the load than a latch post, so it often gets the deeper or wider footing. A heavy galvanized frame full of pickets pulls on its hinge post every time it opens, and a post that was sized for a light aluminum panel will not hold it.
Why does pouring finish with a crown?
Concrete goes into the hole in layers, with a rod or a stick worked through it to push out air. At the top, the crew trowels a slope that falls away from the steel. That slope is a drainage detail, and it protects the steel at the point where rust starts. Water that sits in a ring around the base of a post works its way between steel and concrete and eats the coating at the ground line. A crowned collar sheds it.
The post gets one more level check before the concrete starts to stiffen. A post pushed a hair out of plumb during the pour is easy to nudge back in the first few minutes and nearly impossible to fix later.
How long should a footing cure before the gate goes on?
Several days is the working answer in normal weather, and longer when it is cool and damp. The crew checks by pressing a thumbnail or a screwdriver tip into the concrete at the edge. If it dents, it waits. In a hot Austin summer the surface can look hard in a day while the center is still soft, so the braces stay on and nobody leans on the post.
This is also the stage where rain can interfere. A footing that gets soaked while it is still green can lose surface strength. A tarp or a sheet of plastic over the top of each footing solves most of it.
How is the gate hung and adjusted?
Hanging starts with blocks under the leaf, set to the planned ground clearance. Hinges are lined up on a string so both pins share one vertical axis, then welded or bolted in place. The leaf swings freely with no binding, and the crew walks it through its full arc watching the low corner, the hinge side and the latch.
Adjustment follows. A self-closing hinge has a tension screw, and the crew turns it a quarter turn at a time, swinging the gate each time, until the leaf closes firmly and the latch catches without a slam. Thin shims go behind a hinge to raise or lower a corner. The latch keeper is set last, once the leaf has settled into its final position, so the bar lands exactly in the catch.
The diagonal brace in the frame gets a final look. It should rise from the bottom corner on the latch side to the top corner on the hinge side, so it holds the free end up. A brace running the other way looks the same from a distance and does the opposite job.
What gets rechecked after the first season?
Clay moves, so a good crew expects a small adjustment after the first dry spell and the first wet one. A quarter turn on a hinge screw or a thin shim usually brings the gate back. A scuffed arc in the ground, a latch that has to be lifted or a gap at the top of the leaf wider than the bottom are early signs worth catching.
A gate installed in this order, with a check at each stage, tends to stay square for years. The work looks slow on the day and saves time every season after.